The Back Story

Showing posts with label hand painted. Show all posts

Tuesday, July 17, 2018

Mirror, Mirror on the Wall. . .

One of my neighbors kindly gave me
a big mirror a couple of months ago. 

It's 38" x 32". 

Another neighbor that knows about the mirror
keeps asking me if I've done anything
with it yet. 

Well, it's finally time to call her over
to see the mirror. 

I should say, the frame of the mirror. 

I'll let my husband get the mirror
part securely back in the frame. 

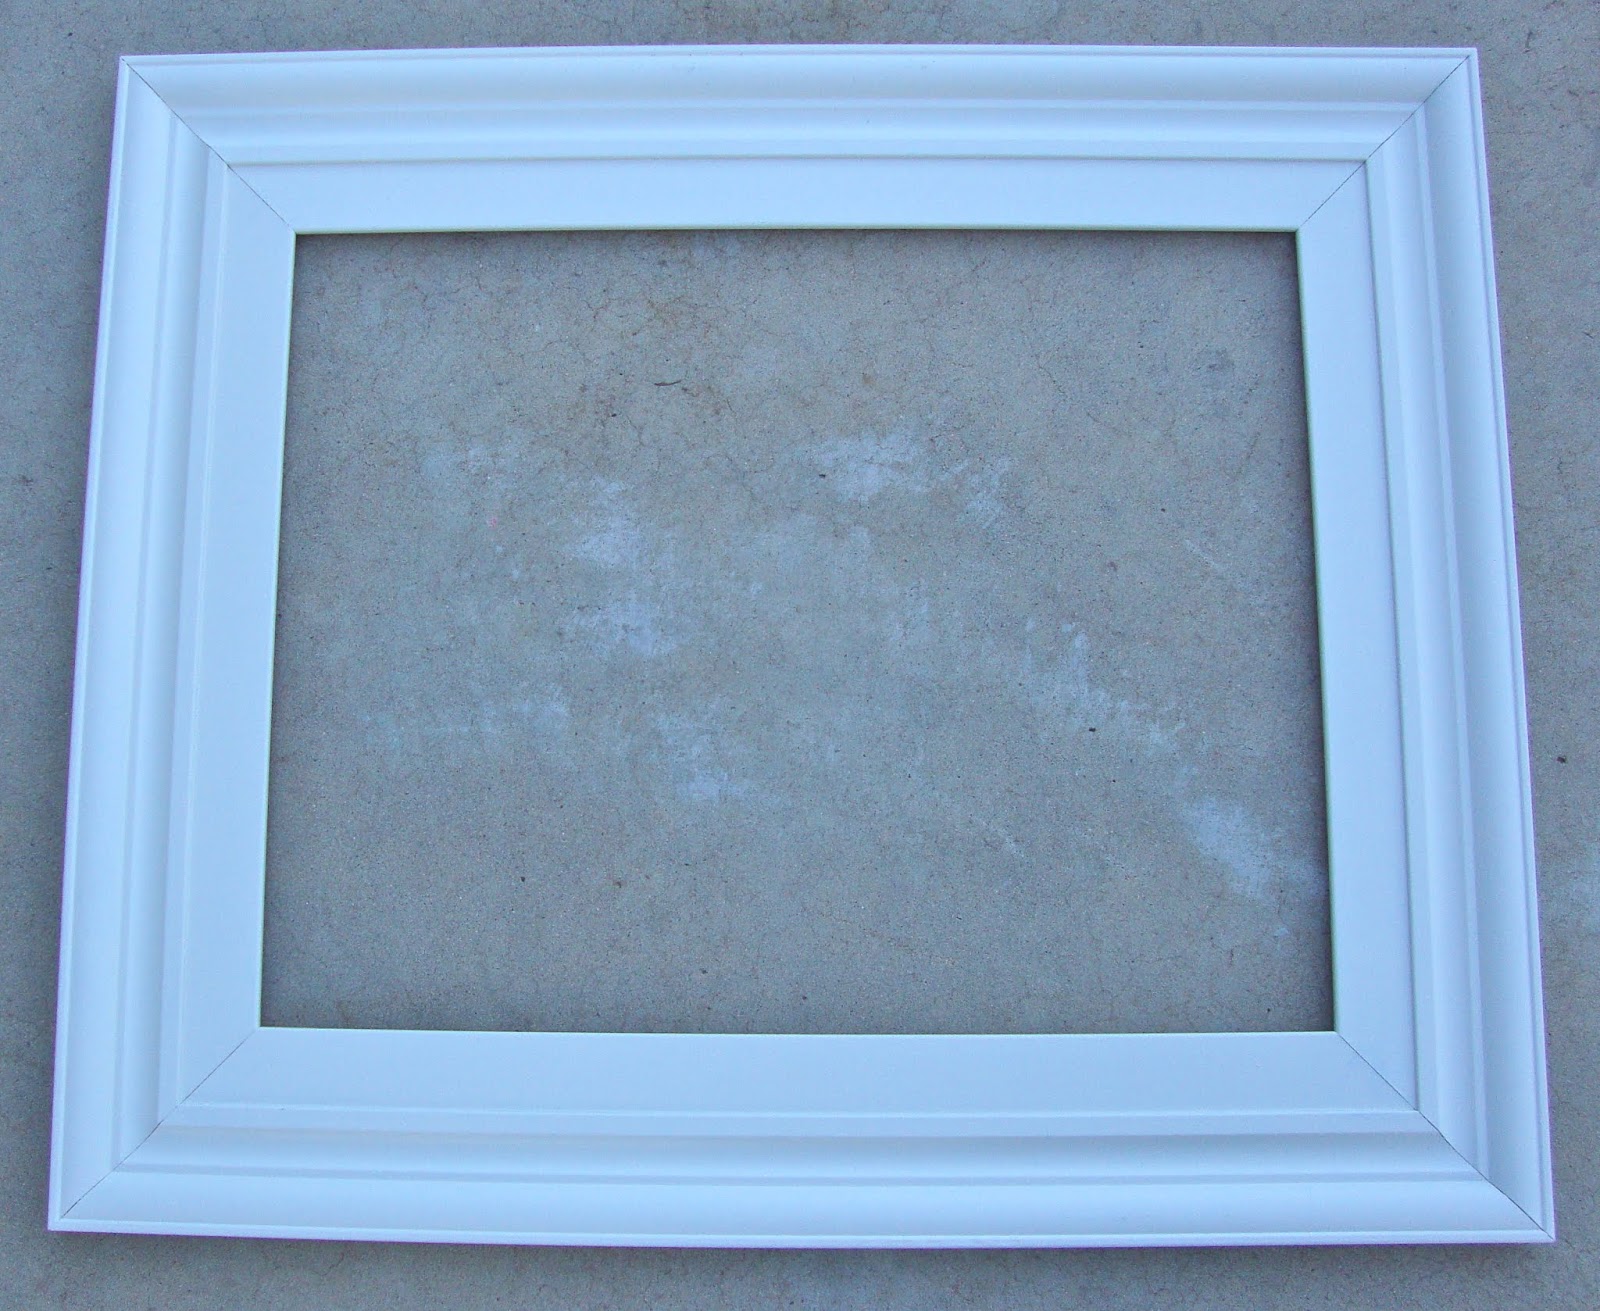
The frame was initially a brown
mottled paint and it was primed
in white to start the process. 


These first few pictures were taken at sunrise.

That's why they're a little dark. 

Next, I drew out my design and made
patterns for wood pieces that my husband
gladly cut out for me on the scroll saw. 


I placed the pieces where I wanted them
just to check my design, before
they were adhered to the frame. 


Voila! The finished piece. 

It's much more bright
and cheerful now. 


Thank you for stopping by.

Hoping you have a wonderfully
creative week! 

Terri


Monday, July 9, 2018

Giving New Life to an Old Guitar

My dear friends and neighbors
will sometimes give me things
they think I may like to paint. 

This old broken down
guitar is an example of one 
of those things. 

It's been sitting in the corner
of my art room for  a couple
of years waiting to be brought
back to life. 


I had a design percolating 
in my mind, now it was a matter
of putting it all together. 

The same friend that gave me the guitar, 
also gave me the cool wooden heart she'd
designed and had her husband cut out for her. 

I designed a pattern for wings and the "Love"
sign, and my husband cut them out for me
on the scroll saw. 


I strung beads where the tuning keys
would've been.

I used my wood carving tools to 
give the "Love" sign a little dimension. 

I also decided to change the plain heart 
into a flaming heart. 


My husband made
sure every piece was secured
properly with a combination of 
liquid nails and nails or screws. 


Here's another view from the front. 


I'm pleased with the way it 
turned out. 

It was so much fun to create. 

I hope you have a wonderful week ahead! 

Thank you for stopping by. 

Terri


Monday, May 21, 2018

Last Week's Menagerie of Artwork

Here are some of the pieces 
I've been working on this past week. 

Purple kitty wearing a 
polka dot tie. 


These butterflies make me laugh.
Not the pieces themselves, but 
the fact that my husband hung
them in our pond area upside down.

I asked him if he realized he did that
and he was insistent they were right side up. 

Oh, how I did not want to look at
those things hanging upside down
every time I looked 
out my kitchen window. 

I'd decided just to zip it, and
not say another word about it. 

Well, to my surprise, the next day
I saw that he had flipped them right
side up. 

"Thank You Lord!" 


This is a sign that I made
for the bathroom. 

It has resonated with me
since the first time I saw
it in an old Victoria magazine
many years ago. 


Frida magnet
                                

This is a large 'welcome' sign I made
from a long cabinet door
someone was getting rid of. 


Mermaid magnet


Kitty Plaque


Fish magnet


That about wraps it up for 
now. 

Hoping it's a wonderful week for you.

Thank you for visiting. 

Terri


Wednesday, May 9, 2018

This House is for the Birds

I hadn't planned on posting more
than once this week, but I took
these pictures this morning and
thought, 'Why not?'

 This is another one of our collaborations 
(my husband the builder, and me the artist). 

This is probably
my favorite bird house that we've
made together. 

I think it's because the design
is the funkiest he's made so far, and
I'm all about the funkier the better. 

It also makes me think I'm sort
of weird as an artist, because I 
love color clashes. 
(as is obvious by my pieces). 

Sometimes it's intentional,
and sometimes it's just because
I have to use whatever paint
I have on hand. 

Either way, I try and make 
it work and am usually 
pleased with the outcome. 


Thank you for visiting
and saying hello. 

Terri

Wednesday, May 2, 2018

Bunny Hutch

I received this bunny hutch
when it was looking a bit
tired and needing a little lift. 

It was stained wood
with black grating. 

Why didn't I take a picture 
before I started??

* * *

First, I drew out patterns of a flower
and butterfly and my husband
kindly cut them out of wood
on our scroll saw. 

I decided to spray paint the base.
With all the wire and intricate structuring
it just made more sense. 

That said, I rarely use spray paint, but
I'm glad I did in this case. 

You can see Maybelline came to check
things out. 

On a side note, we've noticed she's been 
biting the fur off the back of her tail. 

She's 11 years old and has never done 
that before. 

Hmmm. . . 


I'm hoping the bunnies will enjoy 
their new digs. 

Thanks for visiting! 

Terri

Friday, January 19, 2018

Paintings and Orange Season

It's citrus season in Arizona! 

Here's a view of our orange tree
from out our bathroom window. 

We need to get them off the tree before
blossom time around March. 

Needless to say, we've been eating a
lot of oranges and drinking a lot of juice. 

There's a bunch of trading and giving away
amongst the neighbors this time of year. 

Some have lemons, ruby red or yellow grapefruit,
navel or valencia oranges. 

The smell of their skins is heavenly
when they're fresh off the tree. 

I look forward to blossom time. 

The perfume in the air from 
the orange blossoms is intoxicating. 

I wish I could share it, and our oranges too!


The following is a sugar skull that
my husband had cut out of wood for me. 

It's 19" x 13", so it's a perfectly fun size. 

Instead of hemming and hawing about my design
for this one, I set myself an imaginary timer of 15 minutes.

I worked quickly and just let the design flow naturally. 

When my husband came home from work and I showed
it to him, he said, "That's cool, but the eyes are kind of low."

I said, "Really? They may be a little on the small side, but
I don't thing they're too low.". 

Then I realized, he thought the cheeks were the eyes! haha

Oh well, I'm not changing it. I kind of like it like it is. 


I'm back to my pink cacti in this next piece. 

I just love cactus and I love the color pink. 

It was fun figuring out what to do with her glasses. 

Maybe next time I'll experiment with a glaze
as well as highlights on the lenses. We'll see. . . 


Wishing you a wonderful and creatively
productive weekend! 

Wednesday, January 10, 2018

"Home Tweet Home" Bird House with Stand

It feels so good to have this one finished. 
I've finally freed up a little more floor
space in my art room. 

It's funny though, solving one problem can 
sometimes create another.

The newly created space in my art room
is now filling up space in our guest room.

Oh well, hopefully we'll get some of
these sold and that'll free up that room.

Dream big, right?

I wanted to take this out in the yard
to get some pictures, but we had
a much needed rain storm last
night and the ground is still wet. 

This'll have to do for now. 


We've made two stand sizes for our
bird houses. This
size is the shorter of the two. 

The flower embellishments on the sides of 
this house are raised wood cut-outs. 

I drew a couple flower patterns on
wood and my husband cut them out
and affixed them to the sides. 


The next two pictures I took from underneath
so you can see that every spot is painted. 


This was an important tip I learned
from a very wise gallery owner and art dealer. 

Don't leave any blank spaces!


Thanks for visiting!

Monday, January 8, 2018

Folk "Heart" Bird House with Stand

This cute little bird house has been sitting
on our guest bed just waiting for me 
to paint a stand for it. 

I've had 2 unfinished bird house stands sitting in my 
art room/studio FOREVER (it seems). 

They're taking up a bit of floor space
and starting to get in my way. 

It's one of those projects that I know
will take some time, so I put it off. 

One day rolls into the next and
well, you know. . . 

Last weekend, I felt the need to check 
it off my list and "get 'er done"!


I set a goal for myself of one day
to accomplish it. 

It was such a good feeling to have 
finished it in the time I allotted myself. 

Today's goal: 
*Paint the 2nd stand. 

The only problem is that today's goal
is in competition with 5 loads
of laundry AND changing the bed linens. 

We'll see, I'm going to push myself. 

I'm all about striking while the iron is hot!


Wednesday, July 5, 2017

Folk Art Bird House 5

This bird house gave me a little
trouble at first. 

My initial idea for it (which I was
really excited about) bombed when 
I told my husband what I wanted to do. 

He told me how hard he worked
on certain features and I was going to cover
them up with my idea. I could see his point 
(after a long discussion) and I decided 
to move on to a plan B. 

By the way, after this incident, we made
the decision that he'll do his thing when it
comes to building, and I'll do my thing when
it comes to painting. Our team projects have been
harmonious ever since.

Back to plan B. .  . I had to come up with
a new idea, and instead I just sat and sat in
front of this thing, starting at it and 
wondering where to start. 

Ever been there yourself?

After a grueling amount of time passed I 
decided enough was enough. 

I set a timer for 20 minutes and started painting
a base design without thinking about it. 

"Just paint!" I told myself. 


After all was said and done,
I really liked the way it turned out. 

Sorry my pictures aren't the best.
I keep this bird house in my daughters
old room and the lighting isn't the best. 

I think the gist of it comes across though. 

Hope you have a fabulous day!

Happy Creating. 

Terri

Monday, July 3, 2017

Hearts, Flowers, and Cross Shrine

This was such a fun project to make.

Just looking at the picture inspires
me to want to make more of them. 

(In case you missed my other shrine posts
you may see them here and here.)

Everything was handmade from the
paper mache shrine box, to the 2 kinds 
of clay that I used. 

One was cold porcelain clay,
and the other one had a flour and glue base. 

For the candle wicks I
stripped a twist tie of it's paper
and used that to suspend the flames.

The cross, leaves, flowers, and candles
are made from the cold porcelain clay. 

The top center heart was made from the 
flour and glue based clay.

It was a little harder to shape
into specific designs, but it was
good for building up dimension. 

I also used some puff paint to add
some texture. It worked great. I was
a little unsure because I think it's mainly
used for fabrics. 


Now here's a behind the scenes
look at what usually goes
on when I'm trying to take a picture
of my work outside. 

"Maybelline! Move your head!"


She's always at the ready
to lend a helping hand paw. 


She loves being the center
of attention, so I thought
I'd give her that honor today. 

Thanks for stopping by!

Terri

Wednesday, June 28, 2017

Painting Doors

I love painting doors! 

This is a door my dear friend 
Dede asked me to paint for her. 

One side is more Mexican
folk art inspired, and the
other side is Aztec design inspired. 


The whole door took me about 
a month to complete, and I had
to commandeer our kitchen table
as my work space. 

To prepare for the project, I draped the table with 
an old cloth and laid some wooden boxes down 
for risers to elevate the door off the table. 

I used my office chair on wheels 
to maneuver around as I painted.

It worked great! 

The only downside was that we couldn't
have company for a month,
which is hard for me to do. 


I'd love to paint our
front door in a Mexican
folk art style!

I'm not quite sure my husband
would be on board with that one though. 

It can be tough at times for a color
loving gal being married to a beige loving husband. 

Fortunately, it's a small price to pay all in all. 

Thanks for visiting!

Terri