The Back Story

Showing posts with label cold porcelain clay. Show all posts

Monday, May 14, 2018

Shrine Embellishing

Remember this shrine from
way back when? 

In case you missed it
and are so inclined, 
you'll find the related post here.

It's just been sitting around 
on a shelf waiting 
for some zhooshing up.


I got out my bead box,
assorted assemblage items,
and went to work (or play, as I'd rather say). 


I used a PVA glue instead
of a glue gun, or the stinky
kind of glue that'll literally 
glue your (I should say,
 'my') fingers together. 

It takes a little longer to dry,
but I think in the long run
it'll create a more durable hold
and my fingers will remain separated. 

Thank you for stopping by.

Hoping you have a fabulously creative week! 

Terri


Monday, July 3, 2017

Hearts, Flowers, and Cross Shrine

This was such a fun project to make.

Just looking at the picture inspires
me to want to make more of them. 

(In case you missed my other shrine posts
you may see them here and here.)

Everything was handmade from the
paper mache shrine box, to the 2 kinds 
of clay that I used. 

One was cold porcelain clay,
and the other one had a flour and glue base. 

For the candle wicks I
stripped a twist tie of it's paper
and used that to suspend the flames.

The cross, leaves, flowers, and candles
are made from the cold porcelain clay. 

The top center heart was made from the 
flour and glue based clay.

It was a little harder to shape
into specific designs, but it was
good for building up dimension. 

I also used some puff paint to add
some texture. It worked great. I was
a little unsure because I think it's mainly
used for fabrics. 


Now here's a behind the scenes
look at what usually goes
on when I'm trying to take a picture
of my work outside. 

"Maybelline! Move your head!"


She's always at the ready
to lend a helping hand paw. 


She loves being the center
of attention, so I thought
I'd give her that honor today. 

Thanks for stopping by!

Terri

Friday, June 30, 2017

Love Shrine

 From the time I was very
young, I've loved dioramas. 

These three dimensional vignettes 
often capture a snapshot of life
which tends to spark my imagination.

I guess that's why I'm drawn to
Mexican nichos and shrine boxes. 

The one I'll share with you today
conveys a simple message. . Love. 

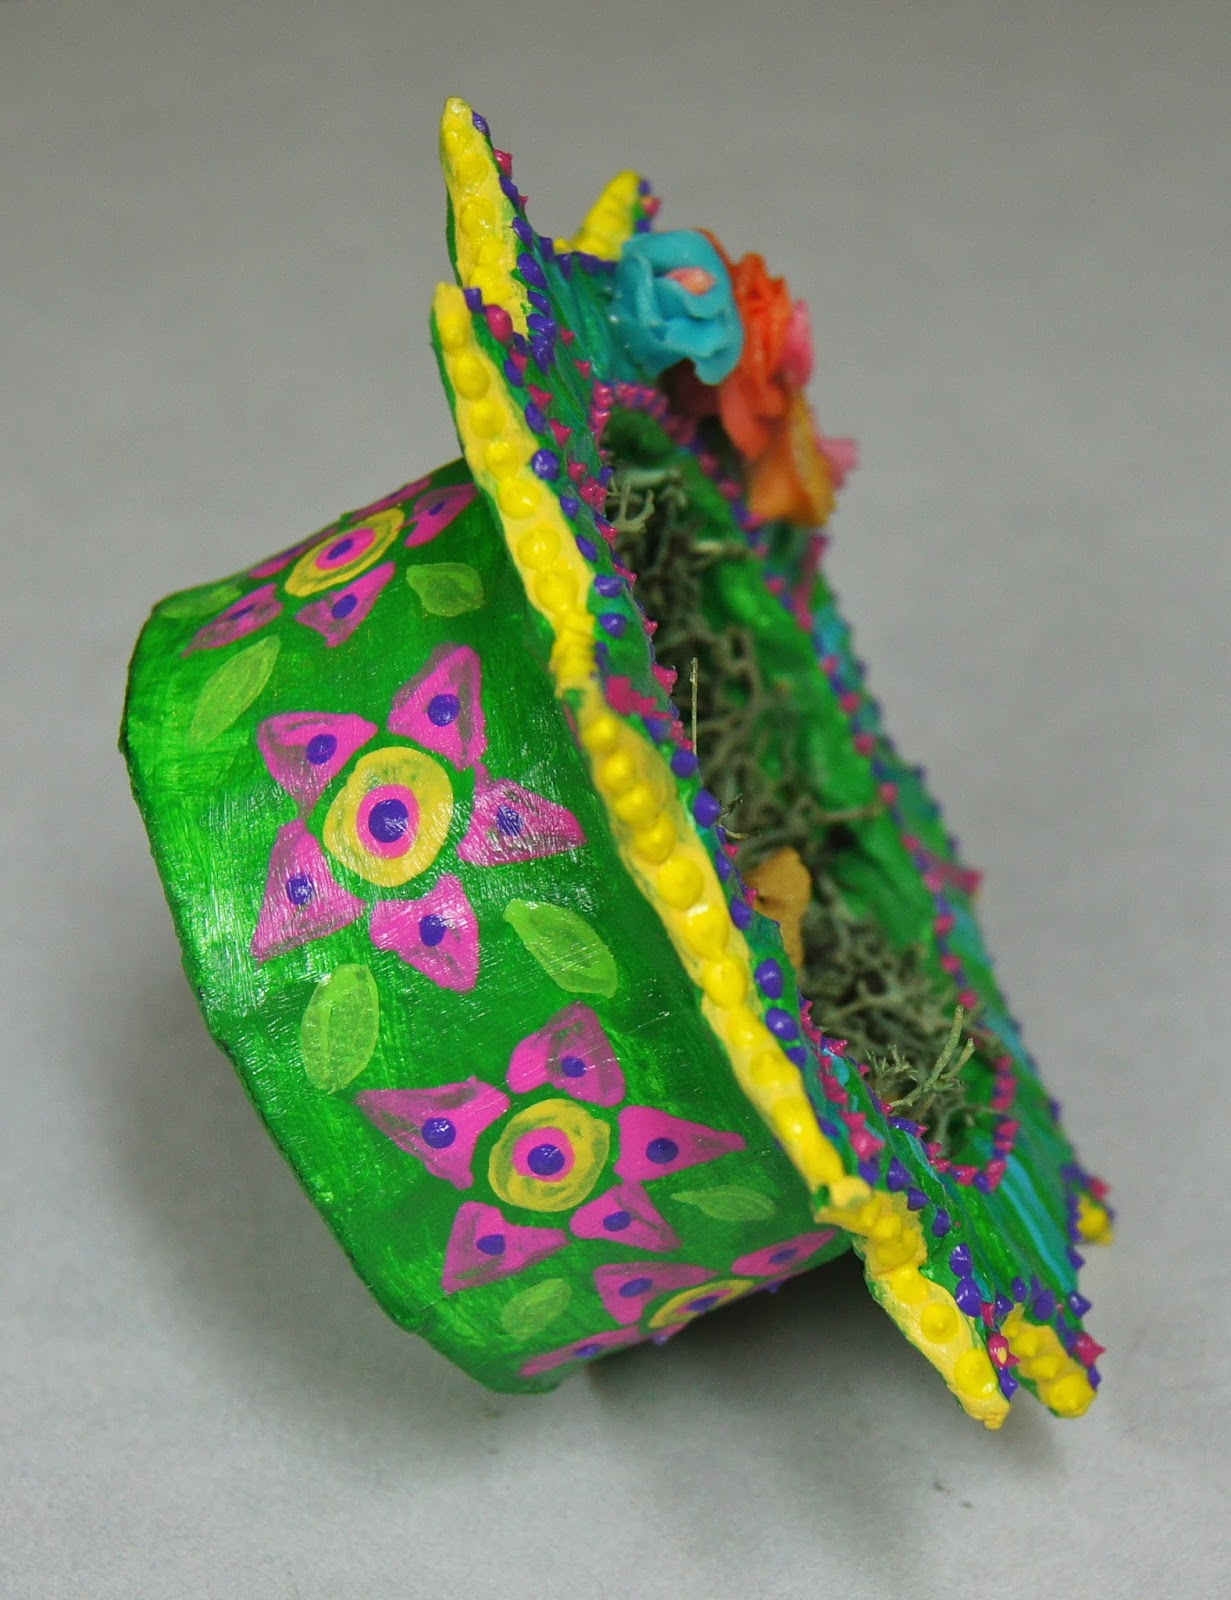
I started out with some nice sturdy
boxes for the base and designed
frames out of cardboard. 

More cardboard cutouts were added
to enhance the dimension. 


I then made cold porcelain clay roses. 

Cold porcelain clay was fun to 
work with, but I learned a few important things. 

First of all, don't use a good pot. 

Had I've known my pot would be ruined,
I would've bought a cheap one at the thrift store
to make the clay in. 

Next, when coloring the roses I used
markers instead of paint because it was
easier and less messy.

The problem with that is it completely
dries out the markers and then they're no good. 

Next time I'll put up with a little mess and use paint.  


After that, I covered my shrine boxes with paper mache, let
them dry, and then painted them with a base coat. 


I added some gems along with 
the roses and coated the frame with
a glitter mod podge for some extra sparkle. 


The "LOVE" letters are made
out of folded magazine pages. 
I thought it was so cute. 

I'd gone to Hobby Lobby after
Christmas and picked up a bunch of 
ornaments for a couple dollars each
with the intention of using them in my boxes. 

Thanks for stopping by!

Terri


Wednesday, May 24, 2017

Mini Bear & Blue Bird Diorama

I made this mini diorama
out of a tuna can and a cardboard frame
that I drew and cut out. 

The whole thing was covered with paper mache
and then painted before I added the little scene
in the center. 

I made some cold porcelain roses
and glued them on with E6000 for
a cute finishing touch. 

I discovered that coloring
cold porcelain clay with Sharpies
(as opposed to paint) is less messy,
but it dries them out completely.

I wouldn't do that again. 
A little mess to clean up is better
than having to toss my Sharpies. 


Because of the frame design,
it sits at just the right angle. 


I coated the whole thing
with a gloss gel prior to affixing the
inside scene. 


The only thing left
to do is sign it!

Thanks for stopping by. 

Terri